How to use a grinder?
How to use a grinder? Using a grinder is essential for producing high-quality coffee at home. Here are the basic steps for using a grinder: Assemble the grinder and adjust the settings based on your brewing method; Weigh out the desired amount of coffee beans and add them to the hopper; Grind the beans to the appropriate size based on the brewing method. Different brewing methods require different grind sizes, so it’s important to adjust the grinder accordingly; Once the beans are ground, transfer them to your coffee maker or brewing device; Clean the grinder after use to maintain its performance and extend its lifespan; By following these steps and adjusting the grinder settings according to the brewing method, you can achieve consistent and delicious coffee at home.
Video: More videos
I. Introduction
Brief overview of the importance of using a grinder for coffee brewing:
Using a grinder is an essential part of brewing coffee. It allows you to grind coffee beans to a specific particle size, which directly affects the taste and quality of your coffee.
When you grind coffee, you increase the surface area of the bean, which makes it easier for water to extract the flavors and aromas. Different brewing methods require different grind sizes. For example, a French press requires a coarse grind, while espresso requires a fine grind. Using the wrong grind size can result in under-extracted or over-extracted coffee, which will affect the taste and quality of your coffee.
Additionally, freshly ground coffee has a more vibrant flavor and aroma compared to pre-ground coffee, which can lose its freshness and flavor over time. By grinding your coffee just before brewing, you can ensure that you are getting the best possible flavor and aroma from your coffee.
Overall, using a grinder is an important step in brewing high-quality coffee that is both flavorful and aromatic.
The steps for using a grinder effectively.
A grinder is a versatile tool that is commonly used for various applications, such as sharpening blades, grinding metal, and shaping materials. However, to use a grinder effectively, one needs to understand the proper techniques and safety precautions. In this article, we will discuss the steps for using a grinder effectively.
Step 1: Safety Precautions Before using a grinder, it is essential to take the necessary safety precautions. This includes wearing protective gear such as safety glasses, gloves, and a dust mask to protect yourself from flying debris and harmful dust particles. It is also important to ensure that the grinder is properly grounded and that the electrical cords are in good condition.
Step 2: Choose the Right Grinder There are several types of grinders available, such as angle grinders, bench grinders, and die grinders. Each type of grinder is designed for specific applications, and it is important to choose the right grinder for the job. For instance, an angle grinder is suitable for cutting and grinding metal, while a bench grinder is best for sharpening blades and other tools.
Step 3: Choose the Right Wheel The choice of wheel also plays a crucial role in achieving the desired result. There are various types of grinding wheels available, such as aluminum oxide, silicon carbide, and diamond. Each type of wheel is suitable for different materials and applications. For instance, an aluminum oxide wheel is suitable for grinding steel, while a silicon carbide wheel is best for grinding glass and ceramics.
Step 4: Install the Wheel Before installing the wheel, ensure that the grinder is unplugged and that the wheel is compatible with the grinder. Follow the manufacturer’s instructions for installing the wheel, and ensure that the wheel is tightened securely.
Step 5: Adjust the Grinder Adjust the grinder to the proper angle and height for the task at hand. For instance, when using an angle grinder, hold the grinder at a 90-degree angle to the material being worked on. This will ensure that the grinding wheel makes even contact with the material.
Step 6: Turn On the Grinder Once everything is set up, turn on the grinder and allow it to reach full speed before starting the grinding process. This will ensure that the grinder is operating at maximum efficiency.
Step 7: Begin Grinding Start the grinding process by applying light pressure to the material and gradually increase the pressure as needed. It is important to maintain a consistent pressure and speed while grinding to achieve an even finish.
Step 8: Check the Progress Periodically check the progress of the grinding process to ensure that the desired result is achieved. If necessary, adjust the angle or pressure to achieve the desired finish.
Step 9: Clean Up Once the grinding process is complete, turn off the grinder and unplug it. Clean up the work area and dispose of any debris and waste material in a safe manner.
In conclusion, using a grinder effectively requires proper technique and safety precautions. It is important to choose the right grinder and wheel for the task at hand, adjust the grinder to the proper angle and height, and maintain a consistent pressure and speed while grinding. By following these steps, you can achieve the desired result and ensure a safe and effective grinding process.
II. Understanding Grind Size
Explanation of grind size and its impact on coffee flavor:
Grind size is an essential factor in determining the taste and quality of brewed coffee. The size of the coffee grounds affects the rate at which water extracts flavors, aromas, and oils from the coffee beans, and thus, impacts the final taste of the brewed coffee.
The concept of grind size refers to the particle size of the coffee grounds, which can range from very coarse to very fine. A coarse grind size consists of large particles, whereas a fine grind size consists of small particles. The grind size can be adjusted based on the brewing method and personal preferences.
When coffee is brewed, water flows through the coffee grounds and extracts the soluble compounds from the beans. The rate at which water extracts these compounds depends on the surface area of the coffee particles. The finer the grind size, the greater the surface area of the coffee particles, and thus, the faster the water can extract the soluble compounds. Conversely, the coarser the grind size, the slower the extraction rate.
This difference in extraction rate between grind sizes has a significant impact on the final taste of the coffee. A finer grind size will result in a faster extraction rate, leading to a higher concentration of flavors, aromas, and oils in the final cup. This can result in a fuller-bodied and stronger coffee with more pronounced flavors. However, if the grind size is too fine, it can lead to over-extraction, resulting in bitter and unpleasant flavors.
On the other hand, a coarser grind size will result in a slower extraction rate, leading to a lower concentration of flavors, aromas, and oils in the final cup. This can result in a lighter-bodied and milder coffee with more subtle flavors. However, if the grind size is too coarse, it can lead to under-extraction, resulting in a weak and sour taste.
Therefore, it is crucial to choose the right grind size based on the brewing method and personal preferences. For instance, a French press requires a coarse grind size, whereas an espresso machine requires a fine grind size. The type of coffee beans also plays a role in determining the ideal grind size. For example, darker roasted beans may require a coarser grind size than lighter roasted beans to prevent over-extraction.
In conclusion, grind size is a crucial factor in determining the taste and quality of brewed coffee. The size of the coffee grounds affects the extraction rate of soluble compounds, which impacts the final taste. Choosing the right grind size based on the brewing method and personal preferences can result in a well-balanced and enjoyable cup of coffee.
Different grind sizes for various brewing methods:
Different brewing methods require different grind sizes to achieve the best flavor and aroma profile. Here are some common brewing methods and the corresponding grind sizes:
- French Press: French press coffee requires a coarse grind size. The large particles allow for a slower extraction rate, resulting in a full-bodied and robust coffee.
- Pour-Over: Pour-over coffee requires a medium-fine to medium grind size. The medium grind size allows for a balanced extraction rate, producing a clean and bright cup of coffee.
- Drip Coffee Maker: Drip coffee makers require a medium grind size. The medium particles allow for a consistent extraction rate, resulting in a well-rounded cup of coffee.
- Espresso: Espresso requires a very fine grind size. The fine particles allow for a quick extraction rate, resulting in a concentrated and intense shot of coffee.
- AeroPress: AeroPress coffee requires a fine to medium-fine grind size. The fine particles allow for a quick extraction rate, producing a smooth and full-bodied cup of coffee.
It is important to note that these are general guidelines, and the optimal grind size may vary depending on the specific brewing equipment and personal preferences. Experimenting with different grind sizes can help achieve the desired flavor and aroma profile for a particular brewing method.
III. Grinder Types and Settings
Overview of different types of grinders and their settings:
There are several types of coffee grinders available on the market, each with their own settings for adjusting the grind size. Here’s an overview of the most common types of grinders and their settings:
- Blade Grinders: Blade grinders are the most basic type of grinder, consisting of a spinning blade that chops the coffee beans. Blade grinders usually have a simple on/off switch, and the grind size is adjusted by controlling the grinding time. However, this method is not very accurate and can result in an uneven grind size.
- Burr Grinders: Burr grinders are more precise than blade grinders, and they offer more control over the grind size. Burr grinders use two revolving abrasive surfaces, called burrs, to grind the coffee beans. The distance between the burrs determines the grind size, and this can be adjusted using a dial or knob. Burr grinders can be further classified into two categories:
a. Conical Burr Grinders: Conical burr grinders have cone-shaped burrs, and they are typically more expensive than flat burr grinders. They offer a more consistent grind size, and the grind settings can be adjusted more precisely.
b. Flat Burr Grinders: Flat burr grinders have two flat burrs that are parallel to each other, and they are generally more affordable than conical burr grinders. They offer a more uniform grind size than blade grinders, and they can be adjusted to produce a variety of grind sizes.
- Hand Grinders: Hand grinders are manual grinders that require a bit of elbow grease to operate. They usually have a burr grinder mechanism, and they are popular among coffee enthusiasts who value the ability to control the grind size manually. Hand grinders are often compact and portable, making them ideal for travel or camping.
In summary, the different types of grinders have varying degrees of precision and control over the grind size. Blade grinders are the most basic and least precise, while burr grinders offer greater control and consistency. Hand grinders are ideal for those who want to manually control the grind size and are willing to put in a bit of effort. No matter which type of grinder you choose, selecting the right grind size is crucial for producing a delicious cup of coffee.
Explanation of how to adjust grinder settings for desired grind size:
Adjusting grinder settings to achieve the desired grind size can vary depending on the type of grinder you have. Here are some general steps to follow:
- Identify the desired grind size: Determine the appropriate grind size for the brewing method you will be using. Refer to the specific brewing method to determine the ideal grind size.
- Determine the current grind size: If you are using a burr grinder, set the grinder to the current grind size and grind a small amount of coffee. Look at the coffee grounds and compare them to a reference chart to determine the current grind size. If you are using a blade grinder, estimate the current grind size based on the length of time you’ve been grinding the beans.
- Adjust the grind size: If you need to make the grind size coarser, turn the dial or knob in the direction that increases the distance between the burrs. If you need to make the grind size finer, turn the dial or knob in the direction that decreases the distance between the burrs. If you are using a blade grinder, adjust the grinding time accordingly.
- Grind a small amount of coffee: After adjusting the grind size, grind a small amount of coffee and check the grind size to see if it matches the desired size. Repeat the process until you achieve the desired grind size.
- Test the grind: Use the ground coffee to brew a cup of coffee using the appropriate brewing method. Taste the coffee and adjust the grind size if necessary. Continue to adjust the grind size until you achieve the desired taste and aroma profile.
It’s important to note that different coffee beans may require different grind sizes even for the same brewing method. Experimenting with different grind sizes can help you find the perfect balance for your preferred taste and aroma.
IV. Step-by-Step Guide to Using a Grinder
Step 1: Assemble the grinder and adjust settings:
Assembling a grinder and adjusting the settings can vary depending on the type of grinder you have. Here are some general steps to follow:
- Unbox and clean the grinder: Unbox the grinder and remove all packaging materials. Clean the grinder thoroughly before use.
- Attach the hopper: Depending on the grinder model, the hopper may attach to the top of the grinder or be integrated into the body of the grinder. Attach the hopper securely.
- Adjust the grind settings: Refer to the user manual for specific instructions on how to adjust the grind settings for your grinder. For a burr grinder, this may involve turning a dial or knob to adjust the distance between the burrs. For a blade grinder, this may involve adjusting the grinding time.
- Test the grind: After adjusting the settings, grind a small amount of coffee and check the grind size to see if it matches the desired size. Repeat the process until you achieve the desired grind size.
- Assemble the rest of the grinder: Depending on the grinder model, there may be additional parts to assemble, such as the grind chamber, portafilter holder, or grounds bin.
- Test the grinder: Use the ground coffee to brew a cup of coffee using the appropriate brewing method. Taste the coffee and adjust the grind size if necessary. Continue to adjust the grind size until you achieve the desired taste and aroma profile.
It’s important to note that different coffee beans may require different grind sizes even for the same brewing method. Experimenting with different grind sizes can help you find the perfect balance for your preferred taste and aroma.
Grinder for sale
Step 2: Weigh coffee beans and add them to the hopper
Weighing coffee beans accurately is an important step in making a great cup of coffee. Here are the steps to weigh coffee beans and add them to the hopper:
- Get a digital scale: You will need a digital scale that can measure in grams to weigh your coffee beans accurately.
- Set the scale to zero: Make sure the scale is set to zero before placing your container or scoop on it.
- Measure your coffee beans: Place your coffee beans on the scale and measure out the desired amount. The standard ratio for brewing coffee is 1:16, which means 1 gram of coffee for every 16 grams of water. So if you are making a 12 oz cup of coffee, you will need 21 grams of coffee beans.
- Transfer the beans to the hopper: Once you have weighed out your coffee beans, transfer them to the hopper of your grinder. If you are using a manual grinder, pour the beans into the hopper at the top of the grinder.
- Grind your coffee: Once the beans are in the hopper, you can start grinding them to your desired consistency. Make sure you are using the appropriate grind size for your brewing method to get the best results.
- Brew your coffee: Once you have ground your coffee, you can now brew it using your preferred brewing method.
Step 3: Grind the beans into the appropriate size for the desired brewing method
Weighing coffee beans accurately is an important step in making a great cup of coffee. Here are the steps to weigh coffee beans and add them to the hopper:
- Get a digital scale: You will need a digital scale that can measure in grams to weigh your coffee beans accurately.
- Set the scale to zero: Make sure the scale is set to zero before placing your container or scoop on it.
- Measure your coffee beans: Place your coffee beans on the scale and measure out the desired amount. The standard ratio for brewing coffee is 1:16, which means 1 gram of coffee for every 16 grams of water. So if you are making a 12 oz cup of coffee, you will need 21 grams of coffee beans.
- Transfer the beans to the hopper: Once you have weighed out your coffee beans, transfer them to the hopper of your grinder. If you are using a manual grinder, pour the beans into the hopper at the top of the grinder.
- Grind your coffee: Once the beans are in the hopper, you can start grinding them to your desired consistency. Make sure you are using the appropriate grind size for your brewing method to get the best results.
- Brew your coffee: Once you have ground your coffee, you can now brew it using your preferred brewing method.
Step 4: Clean the grinder after use
Cleaning your grinder after each use is important to ensure that it stays in good working condition and produces quality coffee. Here are the steps to clean a coffee grinder after use:
- Unplug the grinder: Before cleaning the grinder, make sure it is unplugged and that the blades have stopped spinning.
- Remove the hopper: If your grinder has a hopper, remove it and empty out any remaining coffee beans. You can also use a brush to sweep out any grounds or debris that may be stuck inside the hopper.
- Brush the burrs: Using a stiff-bristled brush, gently brush the burrs (the two metal blades that grind the coffee) to remove any remaining coffee grounds or debris. Be careful not to damage the burrs, as this can affect the quality of your coffee.
- Vacuum out the grinder: Using a small vacuum or a handheld vacuum with a brush attachment, vacuum out any remaining coffee grounds or debris from inside the grinder.
- Clean the hopper: If your grinder has a hopper, wash it with warm soapy water and rinse thoroughly to remove any coffee oils or residue.
- Wipe down the exterior: Using a damp cloth, wipe down the exterior of the grinder to remove any remaining dust or debris.
- Reassemble the grinder: Once the grinder is clean and dry, reassemble the hopper (if applicable) and the burrs.
- Test the grinder: Before using the grinder again, test it to make sure it is working properly by grinding a small amount of coffee and inspecting the grounds for consistency.
By following these steps, you can keep your coffee grinder clean and in good working condition for a better cup of coffee every time.
V. Troubleshooting Common Issues
Common problems when using a grinder and how to troubleshoot them
Using a grinder can be a great way to ensure that you have freshly ground for your brew. However, there are some common problems that can occur when using a grinder. Here are some of the most common problems when using a grinder:
- Inconsistent grind: Inconsistent grind can occur when the burrs (the two metal blades that grind the coffee) are not properly aligned or are worn out. This can lead to larger or smaller grounds, which can affect the taste of your coffee.
- Clogging: Clogging can occur when the grinder is not cleaned regularly, or when the coffee beans are too oily. This can cause the grinder to jam or produce an uneven grind.
- Overheating: Overheating can occur when the grinder is used for an extended period of time, causing the motor to overheat and shut down. This can be prevented by taking breaks during grinding to allow the motor to cool down.
- Static electricity: Static electricity can occur when the coffee beans are ground, causing the grounds to stick to the inside of the grinder or the container. This can be prevented by using a static-free container or adding a small amount of water to the beans before grinding.
- Noise: Noise can occur when the grinder is not properly assembled or the burrs are not properly aligned. This can also be caused by the type of grinder, as blade grinders tend to be louder than burr grinders.
- Worn out blades: Worn out blades can cause the grinder to produce an inconsistent grind or not grind at all. This can be prevented by regularly cleaning the burrs and replacing them when necessary.
To prevent these problems, it’s important to properly maintain your grinder and follow the manufacturer’s instructions for cleaning and use. By doing so, you can ensure that you have a consistent grind and a great cup of coffee every time.
Tips for maintaining and prolonging the life of a grinder
Maintaining and properly caring for your coffee grinder can help prolong its lifespan and ensure that it consistently produces quality coffee grounds. Here are some tips for maintaining and prolonging the life of a grinder:
- Clean your grinder regularly: Cleaning your grinder after each use is important to prevent the build-up of coffee oils and residue. Use a brush to clean the burrs and other parts of the grinder, and wipe down the exterior with a damp cloth.
- Use high-quality coffee beans: Low-quality or stale coffee beans can cause the grinder to become clogged, leading to damage and a shorter lifespan. Use high-quality, freshly roasted beans to ensure that the grinder is working optimally.
- Avoid grinding oily beans: Oily beans can clog the burrs and cause damage to the grinder. To avoid this, use medium to light roast beans or clean the grinder more frequently when using oily beans.
- Use the correct grind setting: Using the correct grind setting for your brewing method can help prevent damage to the grinder and ensure that you are getting the best results from your coffee.
- Allow the grinder to cool down: After using the grinder for an extended period of time, allow it to cool down before using it again. This can help prevent the motor from overheating and prolong its lifespan.
- Replace worn parts: Over time, the burrs and other parts of the grinder can wear down and become less effective. Replace worn parts as needed to ensure that the grinder is working optimally.
By following these tips, you can help maintain your grinder and prolong its lifespan, ensuring that you are able to consistently produce quality coffee grounds for your brewing needs.
VI. Conclusion
Summary of the key steps and tips for using a grinder effectively.
Using a grinder effectively involves several key steps and tips. Here is a summary of the most important ones:
- Choose the right type of grinder for your brewing method.
- Select the right grind size for your brewing method.
- Measure out the correct amount of coffee beans.
- Preheat the grinder and grind a small amount of coffee to clear any old grounds.
- Grind the beans in short bursts to prevent overheating and ensure a consistent grind.
- Store the ground coffee in an airtight container to preserve freshness.
- Clean the grinder regularly to prevent the build-up of oils and residue.
- Use high-quality coffee beans to prevent clogging and ensure the best results.
- Allow the grinder to cool down after extended use to prevent overheating.
- Replace worn parts as needed to ensure the grinder is working optimally.
By following these steps and tips, you can effectively use a coffee grinder to produce quality coffee grounds for your brewing needs.
About LKMixer
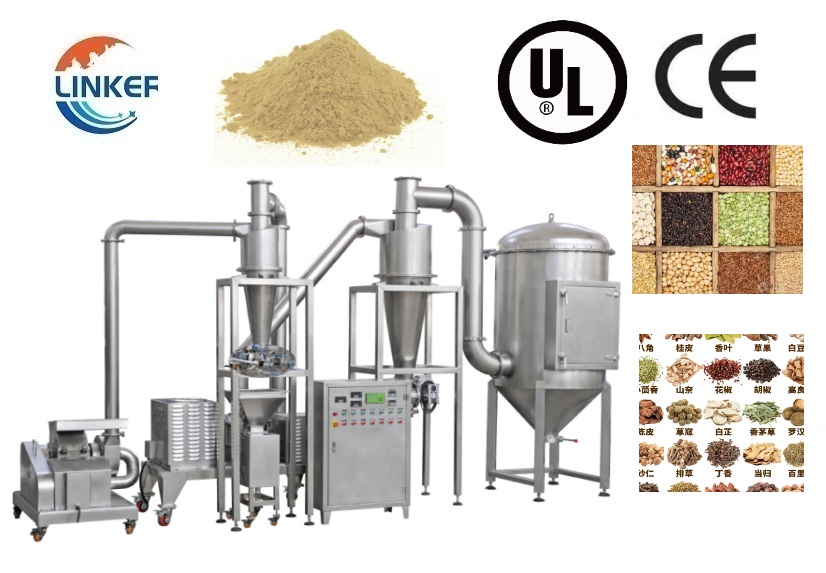
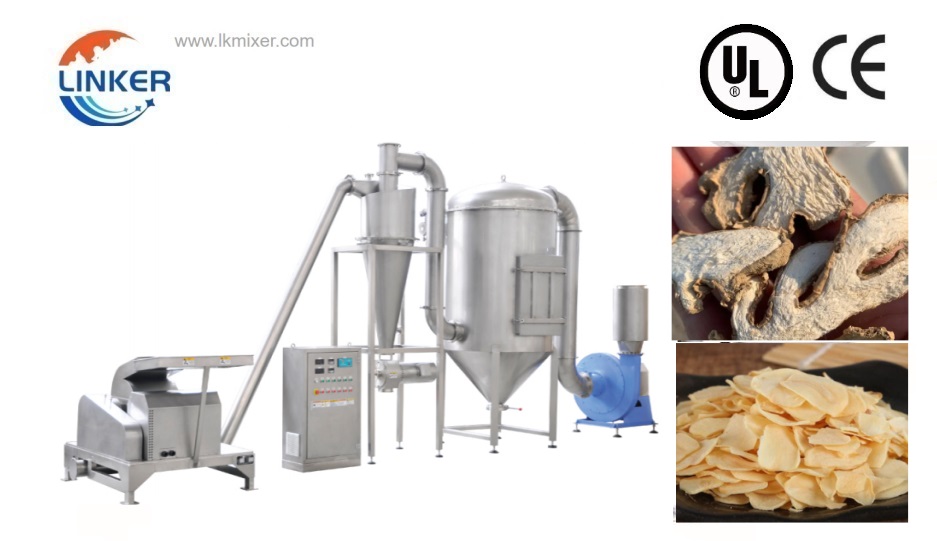
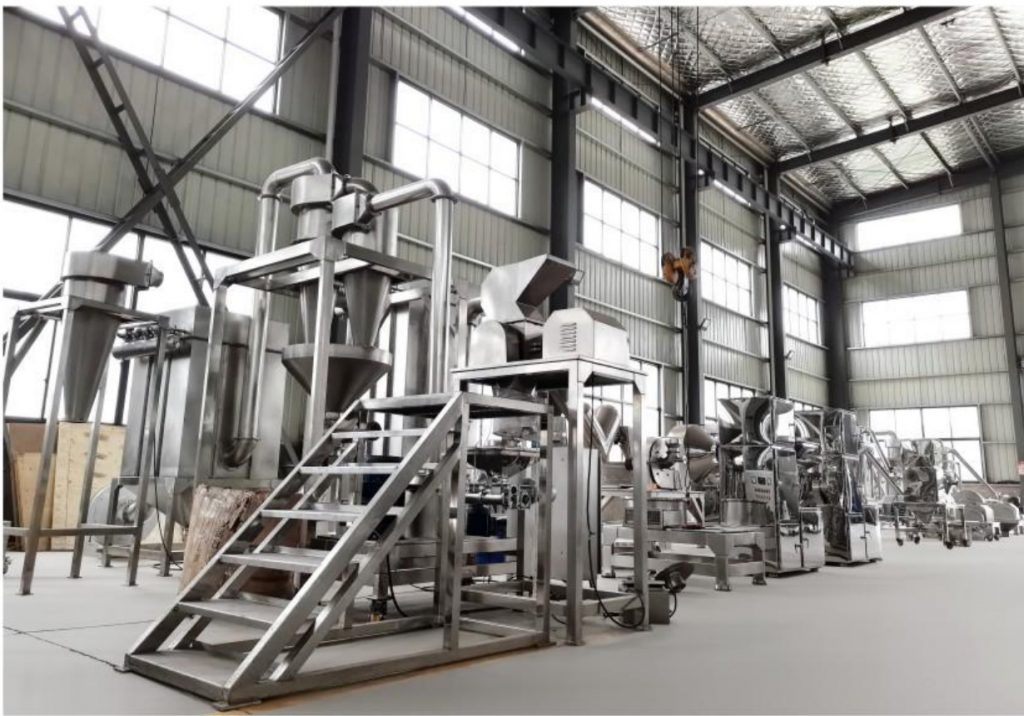
LKMixer is a professional manufacturer for fertilizer production line, grinder, mixer and granulator, shredder. These machines are widely used in food, pharmaceutical, cosmetic, health care products and chemical industries. The Food materials like Peanut, mushroom, seeds, potato, bean, tobacco, salt, cannabis, tea, Sugar, corn, Coffee, rice, pepper, grain as so on. Grinders have many types such as Pulse Dust Grinder which suitable for zero pollution environment, Turbine Mill which is suitable for coffee bean, 12-120mesh all can meet, Ultrafine Grinding Mill covers 80-200mesh, and also Winnowing Dust Grinder or other grinding machines like SF Hammer. Welcome to contact us for details. Contact us for more information. Proposal, catalog, quotation. Mobile/WhatsApp: +86 18019763531 Tel: +86 21 66037855 Email: sales@lkmixer.com
Contact Us
Other similar questions:
How do we use a grinder in agriculture
In agriculture, a grinder is commonly used for grinding various types of grains and other agricultural products into smaller particles, such as for animal feed or fertilizer. Here are some general steps for using a grinder in agriculture:
Prepare the grinder: Make sure that the grinder is clean and properly assembled before use. Check that the blades are sharp and properly aligned.
Select the appropriate screen: Choose a screen that matches the desired particle size of the product being ground. The screen determines the size of the particles that will be produced.
Adjust the grinder settings: Set the grinder to the appropriate speed and adjust the settings for the type of product being ground.
Load the hopper: Fill the hopper with the product to be ground.
Start the grinder: Turn on the grinder and begin feeding the product into the hopper. Be sure to feed the product in gradually and evenly.
Collect the ground product: Once the product has been ground to the desired particle size, collect it in a container or bag.
Clean the grinder: After use, clean the grinder thoroughly to prevent the build-up of debris or residue that can affect the performance of the grinder in the future.
Grinders used in agriculture may be electric or manual, and can vary in size and capacity depending on the specific application. The use of a grinder in agriculture can help farmers and other agricultural professionals to efficiently process grains and other products for animal feed or other uses.
What to use instead of grinder?
If you don’t have a grinder, there are still several options for grinding coffee beans and other materials:
Mortar and pestle: This is a traditional tool that can be used to manually grind coffee beans. Simply place the beans in the mortar and use the pestle to crush them into smaller pieces.
Blender or food processor: A high-powered blender or food processor can be used to grind coffee beans into a fine powder. However, be sure to use short bursts to prevent overheating and uneven grinding.
Rolling pin: You can also use a rolling pin to crush coffee beans into smaller pieces. Place the beans in a resealable plastic bag and use the rolling pin to crush them to the desired size.
Hammer: For grinding larger items such as grains or seeds, a hammer can be used to crush them into smaller pieces.
While these options may not produce the same consistent and precise results as a dedicated grinder, they can still be effective in producing ground coffee beans or other materials for various uses.
Why use a grinder
A grinder is a tool used to grind or pulverize various materials into smaller pieces. There are many different types of grinders designed for specific purposes, such as coffee grinders, herb grinders, meat grinders, and spice grinders.
One of the main reasons to use a grinder is to break down larger materials into smaller, more manageable pieces. For example, if you are grinding coffee beans, a grinder can help you achieve a consistent grind size, which is important for making a high-quality cup of coffee.
Similarly, if you are grinding herbs or spices, a grinder can help you release their essential oils and flavors, resulting in a more flavorful dish. Meat grinders are commonly used to grind meat for making sausages, meatballs, and other ground meat dishes.
Overall, the use of a grinder can help you achieve a more consistent and high-quality final product, whether you’re grinding coffee, herbs, spices, or meat.

